In this part of the documentation we present some step by step instructions on how to create some more useful dialogs with Kommander. They range in difficulty from easiest to hardest.
Our first tutorial program is a simple dialog where you can enter a program to run, and then left mouse button click a button to run that program. Although simple in functionality, it introduces us to some more fundamental concepts with the Kommander system.
Begin by creating a new plain dialog from the File->New menu - a new dialog for editing appears in the main window of the Editor. left mouse button click the FileSelector button widget from the Kommander toolbar

Now select the ExecButton button widget from the Kommander toolbar

Double Click on the spacer button in the Layout toolbar. Double Click a toolbar button allows multiple insertions of a widget, and the currently selected widget will remain the widget to insert until you click another widget in the other toolbars manually. Left click to the left and then to the right of the ExecButton, and choose horizontally as the type of spacer to insert when the menu pops up after clicking. Spacers are simple widgets that don't show up in the final dialog and simply take up empty space. If we left out the spacers, when we align the dialog next the ExecButton would span the entire width of the dialog, which is unpleasing to the eye.
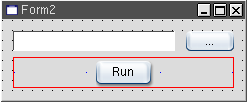
Click the left spacer, then shift click the ExecButton and then the right spacer so that all 3 widgets are selected. Click the 'Align horizontally' button from the Layout toolbar. Click the dialog in some empty space so that no other widgets are selected, and left mouse button click “Align Vertically” from the Layout toolbar. Our widgets are now laid out in a suitable fashion, and you may adjust the dialog size to your taste by dragging the bottom right hand corner of the dialog. It should look like something along the lines of the image below.
For the functionality, it's a simple case of getting the FileSelector's widget text, which is the command to be run, into the ExecButton's text association which will execute it when the button is clicked.
First setup the names of ttheoryhe widgets. Click the FileSelector widget and go to the Property Editor. Change the 'name' property to be 'commandLine'. Click on the ExecButton and in the Property Editor, change the name property to be 'runButton'.
Click right mouse button the FileSelector widget and select the menu option 'Edit Text Associations'. Notice there is only one state, default. We want to simply include the widget text (ie, the command to be run) in the text association of the widget, so that when the ExecButton references the association it will expand to the command line. To do this, we simply add the special @widgetText. You can either type it or simply click the 'Widget Text' button to the right of the text editor, inside the 'Insert' frame. Click OK.
The last thing left to setup is the ExecButton - Click right mouse button on it and choose 'Edit Text Associations'. The command to execute is simply the widget text of the file chooser, so we enter '@commandLine'. Recall that commandLine is the name of the FileSelector widget, and when we do this it will evaluate the text association of that widget. You can type this special in, or insert it automatically from the 'Other Widgets' Combo Box, which contains all of the other widgets in the dialog by name.
The setting up of the text associations is complete.
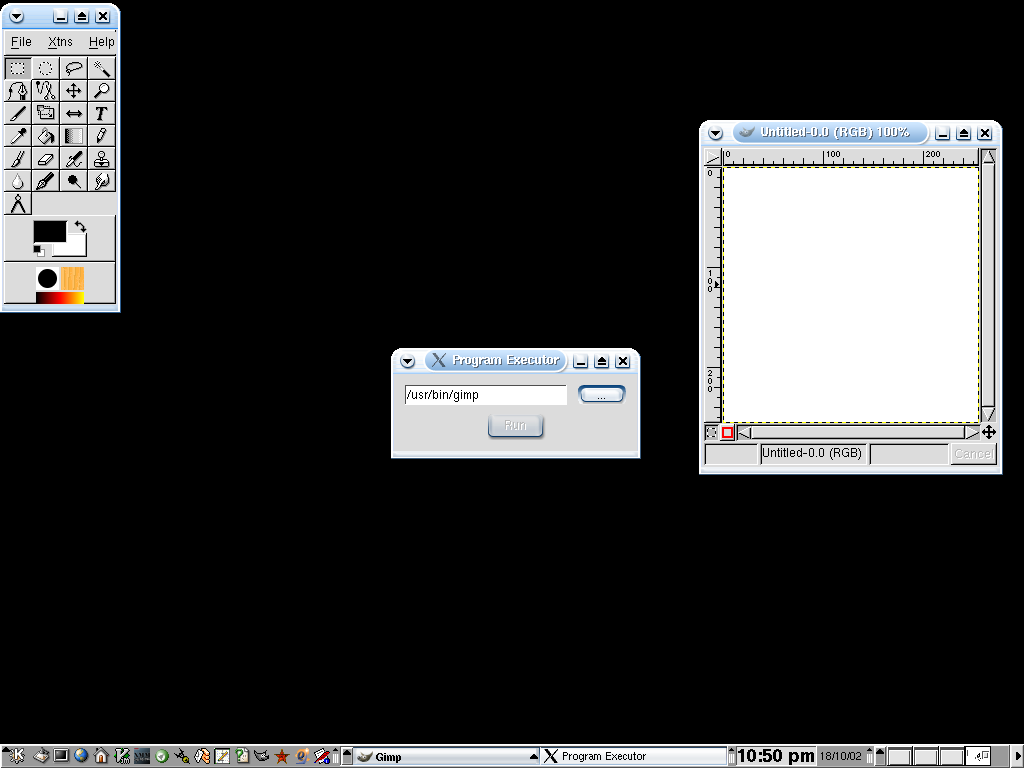
You might wish to setup other properties of the widgets, like the caption property for the main dialog etc. I encourage you to play around with the properties of the different widgets of the dialogs we create for the sake of realising the full power of the dialog customization available. Once you're satisfied with the result, save the dialog and run it with the executor. Select a program to run with the FileSelector widget, and then click run. Unsurprisingly, the program you specified runs and the ExecButton is disabled while the program remains running. A screenshot of the dialog running a gimp session is below.